For cannabis enthusiasts looking at home cultivation, planting cannabis seeds in soil is a straightforward and effective process to adopt. This method simplifies the whole growing process, making it accessible to beginners and more experienced growers to plant marijuana seeds directly in soil.
This article will walk you through the steps of planting cannabis seeds directly in soil along with sharing some essential tips to ensure a successful harvest.
Plant Marijuana Seeds Directly in Soil – The Advantages:
Planting marijuana seeds in soil offers several advantages that make it a popular choice for growers, these include:
- Minimal Equipment Required: Planting marijuana seeds directly in soil is a method that requires minimal equipment which therefore makes it a cost effective choice for those on a budget, as you don’t need expensive hydroponic systems or specialised containers.
- Natural Growth: Growing cannabis seeds in soil allows the cannabis plants to develop in a more natural environment which can promote a more robust root system and potentially enhance terpene and cannabinoid profiles.
- Lower Maintenance: Soil retains moisture which can reduce the need for frequent watering which is advantageous for beginners or those looking for a more “hands off” approach.
- Nutrient Retention: Many soils are enriched with nutrients which can possibly reduce the need for more complex feeding schedules.
A Step-by-Step Guide on How to Plant Marijuana Seeds Directly in Soil:
Let’s take a closer look at the step by step process of planting marijuana seeds directly in soil:
Step 1: Ready Your Supplies
You’ll need the following supplies:
- Cannabis seeds
- Pots or containers
- Quality potting soil
- Watering can or spray bottle
- Labels
- A suitable location to store your plants
Step 2: Choose Your Soil
Choosing the right soil is a really important factor in determining the success of your cannabis plants. It’d be advantageous to find a high quality potting mix that is well aerated, has good water retention rate along with a neutral pH (around 6-7 is the most ideal). You should avoid using garden soil which usually contains pests or diseases that could harm your plants.
Step 3: Fill Your Containers
This step is very straightforward – fill your pots or containers with the chosen potting soil. You should leave some space at the top and ensure that the soil is lightly tamped down to remove any air pockets in the soil.
Step 4: Plant Your Cannabis Seeds
Create small, shallow holes in the soil, about half an inch deep. Place your chosen seed in each hole and cover it with a thin layer of soil. Be gentle to avoid damaging the delicate seeds.
Step 5: Water Your Plants
Water your plants without over soaking them, you can do this by using a mist spray or watering can to keep the soil damp but not waterlogged. Over-watering is an easy way to ruin your chances of success.
Step 6: Label Your Plants
Quite simply, label your pots or containers with the strain or type of cannabis that you’ve planted to differentiate your plant from other strains you might have planted.
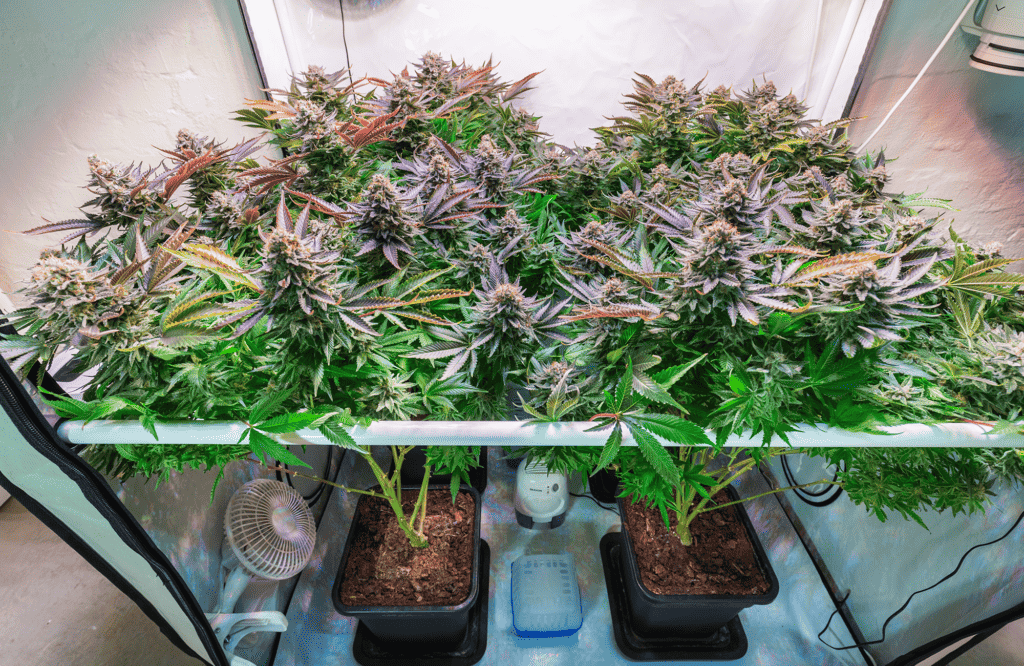
Step 7: Ensure You Have Proper Lighting
Place your containers in a location that receives a good amount of sunlight, at least 6 to 8 hours of direct sunlight per day or you might want to consider artificial grow lights.
Step 8: Maintain Temperature and Humidity
Keep the growing environment consistent to avoid damage to your seeds, the optimal temperature range of 70-85°F (21-30°C) is advised as fluctuating temperature will not serve your plants well. It’s equally important for you to maintain the humidity level, ideally between 40-60%, to promote seedling growth.
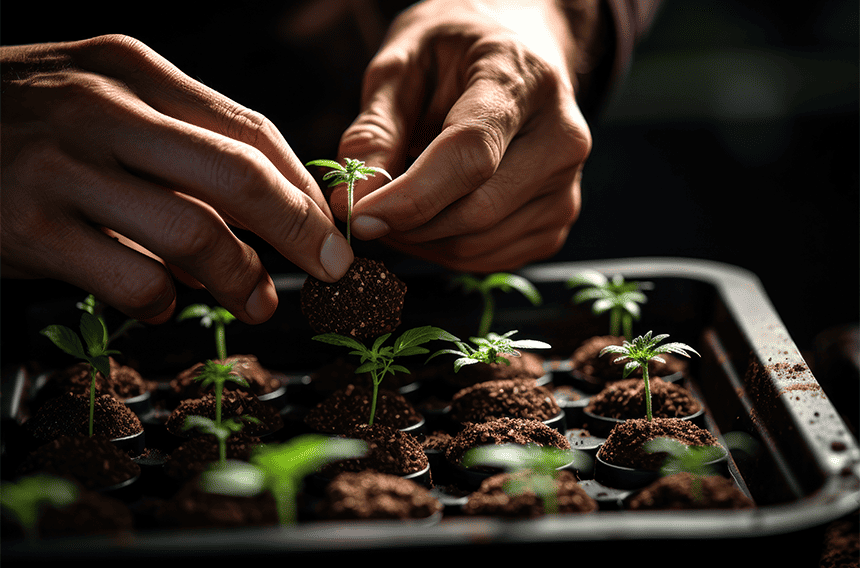
Step 9: Transplant Your Plants
As your plants begin to outgrow their containers and the seedlings have developed a few sets of leaves, typically within a few weeks, you can move them into larger pots or directly into the group.
Step 10: Provide Adequate Nutrients
You may need to start feeding your growing plant with appropriate nutrients to ensure a healthy plant growth.
Step 11: Prune Your Cannabis Plants
Pruning and training your cannabis plants to control their growth and maximise light exposure which in turn should increase yields. There are many different techniques and approaches you can take when pruning your plants, it’s worth looking into these further and seeing which method works best for you.
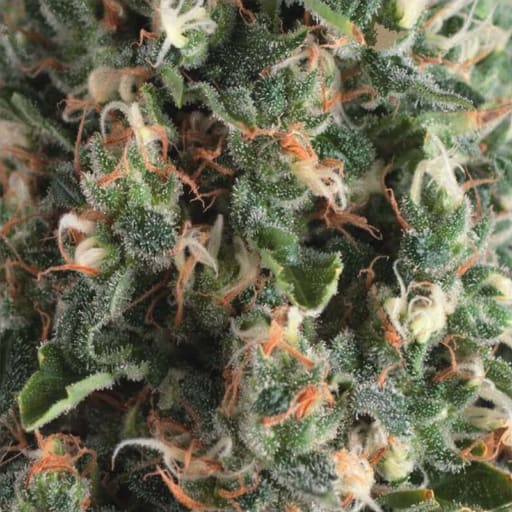
Step 12: Harvesting Your Plants
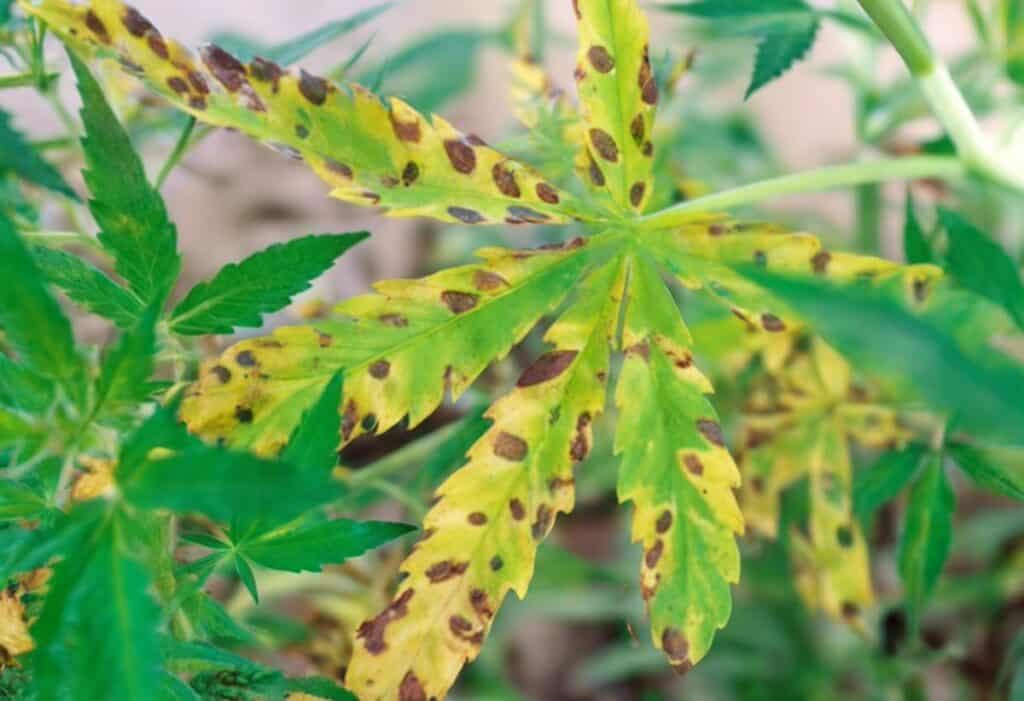
Keep a close eye on your plants as they grow and monitor them for any signs of nutrient deficiencies, pests or potential diseases. As your cannabis plants mature you’ll soon reach the stage of harvesting your plants!
How to Plant Marijuana Seeds Directly in Soil – Tips for Success:
- Quality Seeds: Start with quality cannabis seeds from a reputable seed brand, there are plenty of brands to choose from such as Barney’s Farm, 00 Seeds, DNA Genetics to name a few.
- pH Testing: Test the pH of your soil to ensure this stays within an optimal range.
- Spacing: Ensure that you provide adequate spacing between your plants to prevent them from overcrowding and to also promote air circulation.
- Ventilation: Ensure good airflow around your plants to help to prevent mould and mildew issues.
Planting marijuana seeds directly in soil is an efficient way to cultivate cannabis at home at little cost. With the right soil, paying proper care and attention, you will be able to grow healthy cannabinoid rich cannabis plants.